What makes a QUALITY cinch?
I wanted to do a post of educational sorts, but I don’t want anyone getting the wrong idea or thinking I’m shaming other makers. So I’m going to post a disclaimer right here at the beginning. I am in no way shape or form discouraging you from buying your friends Cinches, local acquaintance, or supporting that person that’s just starting out their small businesses as cinch maker. Because I was them at one point in my life and with out the support and encouragement of my friends and acquaintances I would not have gained the education, experience, knowledge and built a business I am beyond proud of.
So with that. Let’s begin!
I want to talk about quality of Cinches, not in the quality of materials (I’ll make a blog post on that later) but in the quality of the structure of how these Cinches were built.
I have a few pictures here of 2 Cinches I’ve built. One was the 4th cinch I ever built and the other... well the other is a product of hundreds if not thousands of hours of time spent building, researching and learning how to be a better maker. One of these days I’ll go through and get my actual cinch count .

So let’s start with tension. Tension is an extremely important part of a cinch. Both in the body and in the detail. Poor tension causes pressure points and inconsistencies in how a cinch rides and wears. Ok so what’s that mean? That means there’s a solid chance your ever so forgiving mount might turn into a grade A butt hole over the next few rides because that cinch is uncomfortable. You can see both of these Cinches have very different tension to them. Both have been pulled tight and laid out flat and you can see the cinch on the right has waves in the middle strands. That’s because when I built it I had no idea about tension or that it was so important. The out side strands are tighter then the middle strands making it wavy like that and in turn making the outside strands pressure points. The left cinch on the other hand all the strands are laying uniformly. Again, it is a product of a lot of time spent learning and trying to become a better maker.
Then there’s the detail construction and tension. The yellow detail if you look closely is pulling strands from the body and making more of a tension issue. If this cinch had ever been rode it more then likely would of rolled around the detail and could of possibly caused sore spots. The grey detail on the other cinch as you can see is better constructed, the weaves are more uniform, they aren’t pulling body strands up, and most importantly it’ll lay flat on the horse right with the body strands.

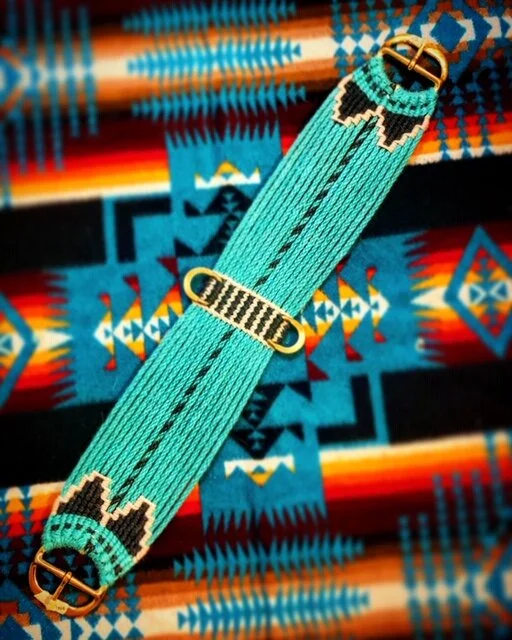
Then there’s center bar construction. The grey and white has a bit wider bar then the yellow and purple, the weaves are also more consistent, tension was pulled evenly across the entire thing, leaving it smooth in both the 2 ply and body 8ply laying flatly which will translate the same on the horse.

Lastly, I want to talk about the knots around your buckles. I see a lot of Cinches with this problem (obviously at one time I was guilty of it.) Now it may not seem like a huge deal but it can sure turn into one when your scratching your head wondering why your trusty steed has gall marks. The extra knots to one side can cause rolling, galling, and make a sore spot on your horse. When choosing a cinch both in type, strands and size, the number of knots on either side of the tongue or button in the case of the grey detailed cinch, is important because it’ll make your cinch wider at the buckle. If you’ve got a saddle that’s rigged more in a forward position and a horse with a round barrel and not a lot of room for a lot of cinch in that area, this could be a huge problem. If you’ll look at the last picture, you’ll see the grey and white detailed cinch has an even number of what we call larks heads on either side of a small button at the bottom of the cinch buckle. The yellow and purple detailed cinch doesn’t.

Now like I said at the beginning of this blog, I don’t want my followers to be discouraged from getting a cinch from a friend just starting out. But I want you to be educated in your cinch selection. I was very fortunate to have good friends that wanted to see me succeed, they paid for materials and I built Cinches and they gave me feed back. This one (the yellow detailed) just happened to get hung in the mud room for the last few years and not get used by a great friend of mine who has always supported and encouraged me in any of my crazy endeavors. I traded her out for a new better cinch so I could have this one.
To any new (or old) cinch makers following my page, I hope this helps in your education. When I first started I had anyone who wanted a cinch pay for materials and I would build Cinches for them and all I asked for was feedback on them. I rode my own Cinches a lot just to see for myself and try new designs. I probably built 40-50 Cinches before I actually started tying for profit, and in turn I think it immensely helped grow not only my business but my knowledge and education on cinch and saddle fit. The reason any of us should be tying is for the comfort of the horse, cool designs and colors should come second. If your first priority in tying Cinches is the horses comfort and well being then your right on track in my book.
If anyone has questions about anything feel free to message me and ask. I’m all for helping people be educated and bettering yours and your horses experience. That’s why I’m here.